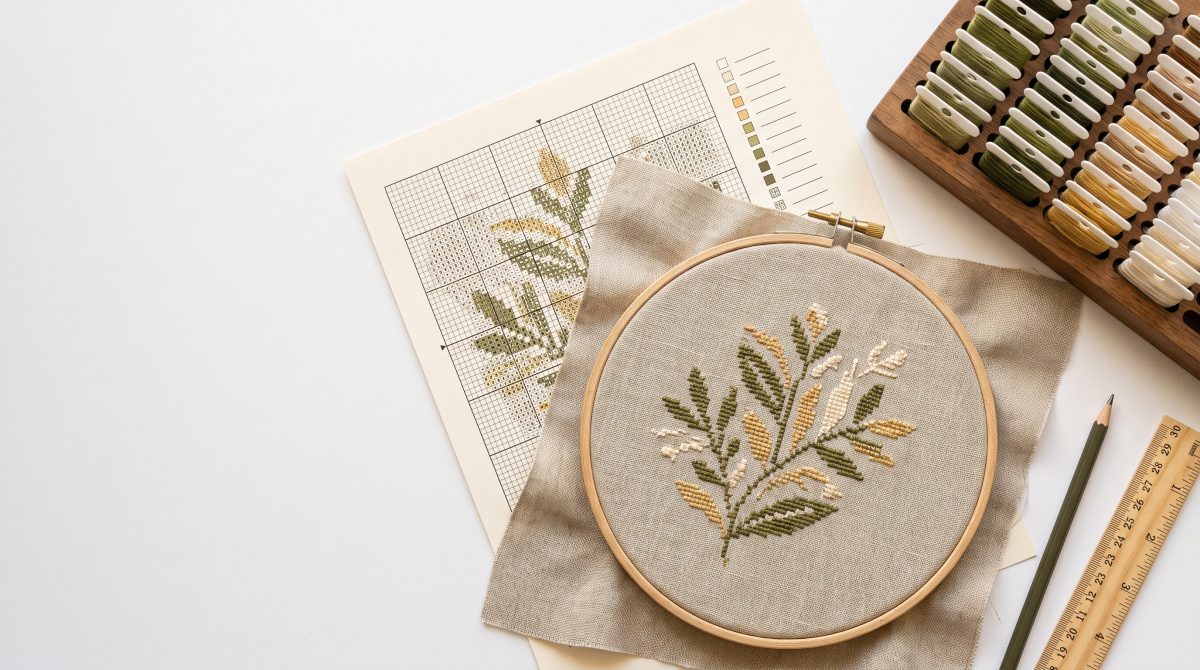
Here's how to read a cross stitch pattern in one paragraph: the chart is a grid where one square equals one full stitch. Every colour has its own symbol, and the DMC key tells you which floss number sits behind each symbol. Bold lines divide the grid into blocks of ten, and arrows on the edges mark the centre. Find the centre, check the key, then count in blocks of ten rather than square by square.
Below is what the file actually contains, how the numbering works, what the extra markings mean, and what to watch for when printing.
What's inside a cross stitch pattern PDF
A digital chart isn't a single picture — it's several documents in one file, each with a job to do. Stitching Stories by Alina charts usually include a colour version, a black-and-white symbol version, the DMC key and fabric recommendations.
The information page at the front answers everything that comes up before the first stitch: how many stitches wide and tall the design is, what size it works out to on different fabric counts, and how many colours are involved. That page is the place to start, not the pretty colour image.
| Part of the file | What it shows | When it's the more useful one |
|---|---|---|
| Information page | Stitch count, finished size on 14/16/18-count, number of colours, fabric recommendations | Before buying fabric and floss |
| Colour chart | Squares filled with colour, each carrying its symbol | When you need to grasp the composition and colour edges quickly |
| Black and white cross stitch chart | The same grid with symbols only, on white | When shades sit close together, or you're printing at home |
| DMC key | Symbol, floss number, stitch count for that colour | While buying threads or restocking one |
| Page map | How the printed sheets join up | At the start of a large multi-page project |
How to read a cross stitch pattern: the grid and numbering
One square on the grid is one full cross stitch. An empty square means the fabric stays bare there — that's part of the design, not a printing gap.
The bold lines every ten squares are your main defence against miscounts. Counting "one, two, three… seventeen" is unreliable; "a block and a half plus seven" is not. Experienced stitchers count in tens, not in single squares.
Row and column numbers run along the edges, and arrows mark the centre of the design. That centre matches the one you marked on your fabric when you folded it in half twice. If a design has an odd number of squares there is a single centre square; if it's even, the centre falls on a line between squares and you can start from either neighbour.
Multi-page charts and printing
Large designs don't fit on one sheet, so they're split across pages with an overlap of one or two rows. The overlap exists so the join doesn't swallow stitches: the same squares deliberately appear on two pages. Check the page map and label your sheets straight away, before they're spread across the table.
In the print dialog, choose 100% scale rather than "fit to page". Scaling squeezes the squares and the joins stop lining up. If the printer clips an edge, reduce the margins in the driver instead of shrinking the document.
Cross stitch chart symbols and the DMC colour key
A symbol is a pointer to a specific floss number. Charts get printed in black and white and viewed on screens of every brightness, so colour alone is an unreliable identifier — the symbol never is.
The DMC key is the table matching each symbol to a floss number, usually alongside the stitch count for that colour. That count makes estimating easy: a skein of DMC is about 8 metres, and worked with two strands on 14-count it covers roughly 1,500–1,800 stitches, so most small designs need one skein per colour.
Occasionally a square holds two numbers separated by a slash. That's a blend: one strand of each colour goes into the needle together, producing an in-between shade that doesn't exist in the DMC range.
Why the black and white version earns its place
The symbol chart solves two problems. First, gradients: three or four close shades can merge into one blur on the colour version. Second, home printing — colours shift on almost any desktop printer, while symbols come out crisp regardless.
Backstitch, fractional stitches and knots
Beyond the filled squares, charts carry lines and small marks. A line running along the edge of squares is backstitch, worked in one strand after all the crosses are done; it supplies outlines and fine detail. A triangle filling half a square is a fractional stitch, used to smooth diagonal edges. A dot or small circle usually marks a French knot, with its own floss number listed in the key.
If the stitches themselves are still new territory, look first at how the cross stitch is formed and how to secure thread without a knot — the chart reads much faster afterwards.
Working out the finished size from the chart
One formula covers it: divide the stitch count by the fabric count for inches, then multiply by 2.54 for centimetres. A 120×150 design on 14-count Aida measures 8.6×10.7 in, or about 21.8×27.2 cm. The same design comes out a quarter smaller on 16-count and noticeably larger on 11-count.
Add 2–3 in (5–7 cm) of fabric on every side for the hoop and framing. Once a chart has been purchased the file stays available in your downloads section, so a second printout is always possible — useful when the first copy has been handled for six months.
A checklist for working from the chart
- Information page read; size and count matched against the fabric you own.
- Printed at 100% scale, with "fit to page" switched off.
- Sheets labelled against the page map and the overlap identified.
- Centre arrows highlighted on the printout.
- DMC key checked against your threads, with missing numbers written down separately.
- A method chosen for marking off finished areas: marker, pencil, or a clear sheet over the chart.
- Backstitch lines and fractional stitches located in advance, so outlines don't have to be redone.
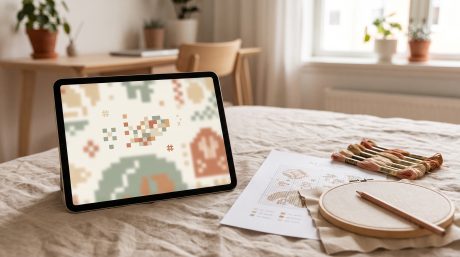
- A spare copy or the file on a tablet within reach, in case the printout suffers.
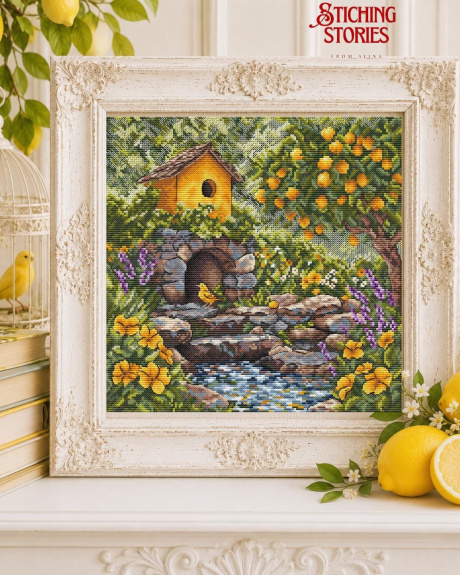
The quickest way to get used to symbols is to see both versions of one design side by side: an example of a colour chart from the catalogue and a design with its black-and-white symbol version. The catalogue has other subjects showing the same pair of pages.