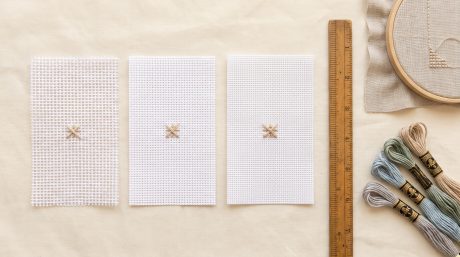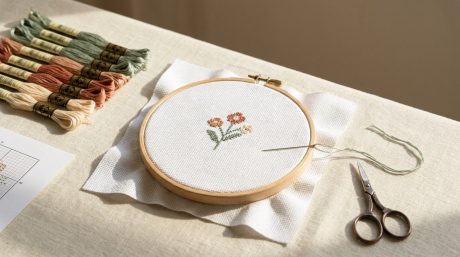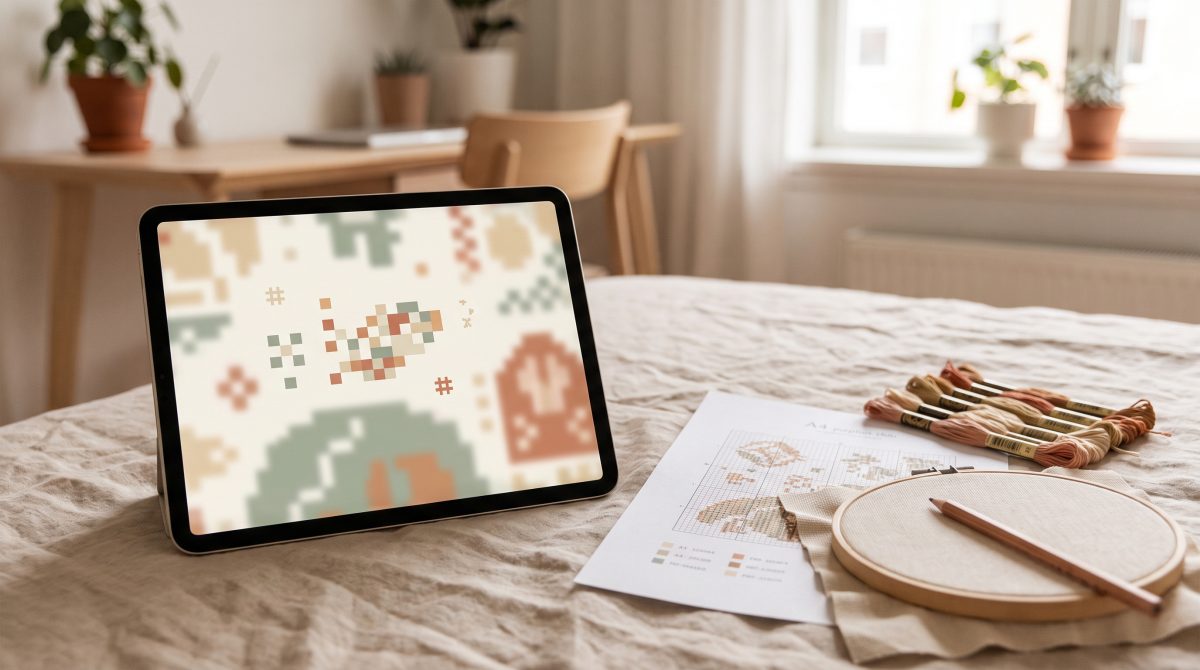
A digital cross stitch pattern PDF contains an information page with the size and colour list, a colour chart, a black-and-white symbol version, the DMC key and fabric recommendations. It's a file, not a kit: no floss, fabric or needle comes with it, and nothing arrives by post. In exchange the file stays yours — you can reprint it, stitch the same design twice, or work it on a different fabric count.
Below: what each page gives you, how the file reaches you after purchase, how to print it without distortion, and what to do straight after downloading.
Inside the file: what each page does
A digital chart is several documents inside one PDF. Each one has a job, and it helps to know which page to look at when.
| Part of the file | What it contains | What it's for |
|---|---|---|
| Information page | Size in stitches, finished size on 14/16/18-count, colour count, techniques used | Planning fabric and time before the first stitch |
| Colour chart | A grid of coloured squares, each carrying its symbol | Grasping the composition and the colour boundaries |
| Black and white symbol version | The same grid with symbols only, on white | Home printing, and working with close shades |
| DMC thread list | Symbol, floss number, stitch count for that colour | Buying floss, and restocking one colour a year later |
| Fabric recommendations | Count, fabric colour, cut size including margins | Avoiding a piece of fabric that turns out too small |
| Page map | How the printed sheets join up | Navigating large multi-page charts |
Not every chart has all six parts: a page map only matters for large designs that won't fit on a single sheet. What a particular file includes is stated in its listing, which is worth checking before buying rather than after.
How a digital pattern differs from a kit
A kit is a box with floss, fabric, a needle and instructions. A digital chart is the instructions alone, in a format you open yourself. Materials are bought separately, but several possibilities open up that a kit doesn't offer.
The file doesn't get used up. If your printout is worn through after six months of handling, you print another — that isn't a second purchase. The same design can be stitched twice, once for yourself and once as a gift. You can also switch fabric count and get a different finished size from the same chart, because the grid specifies stitches rather than centimetres.
It's worth thinking about the whole budget too. A chart costs less than a kit, but fabric, floss and a needle are bought separately, so the first order comes to a similar total. The difference shows up later: a second and third project only need the colours you're missing, since fabric is usually bought with margin and hoops and needles last for years.
There's a limitation worth stating plainly: you judge size and colours from the listing and the image rather than by holding the product. That makes the information page and the stated colour count your main reference points. Stitching Stories by Alina designs are drawn by hand rather than converted automatically from photographs, so the colour count stays controlled and matches what's advertised.
How the file reaches you after purchase
Charts are sold as digital items through Etsy. After payment the file is usually available straight away: it appears in the purchases section of your account, and an email with a link goes to the address you used at checkout. There's no physical shipment, so there's no courier to wait for.
If nothing arrives, the sequence is simple. Check your spam folder and the promotions tab. Confirm the payment completed rather than sitting in processing — with some payment methods confirmation takes a few hours. Open your account in a browser rather than an app, since download links occasionally fail to open inside an in-app viewer. Step-by-step guidance is gathered in the downloads section, and technical questions about formats are in the answers to common questions.
Printing a chart on A4
Printing is where a good file most often gets spoiled. The main rule: 100% scale, never "fit to page". Scaling squeezes the squares, and on multi-page charts the sheets stop joining up.
Check the page format too. If the PDF was built for US Letter (216×279 mm) and you're printing on A4 (210×297 mm), the bottom edge may be clipped. Select "actual size" in the driver and, if needed, reduce the margins — but not the document scale.
The black-and-white version saves ink and prints more crisply than the colour one: symbols come out sharp even on a budget printer. Many stitchers keep the colour version on screen for the overall picture and work from the printed symbol chart. It's worth slipping the printout into a plastic sleeve or covering it with a clear film, so marks can be made with a dry-erase marker and wiped off.
One more detail that saves paper and patience: a large chart doesn't have to be printed in full. Print the page map and only the two or three sheets you're starting from, then add the rest as you progress. Fewer pages get worn in the process, the table holds exactly what today's session needs, and if you change your mind about fabric count halfway through, the unused sheets haven't gone to waste. It also makes a large project feel less daunting on day one.
A checklist for right after downloading
- File saved somewhere beyond your phone's downloads folder: cloud storage, or emailed to yourself.
- Every page opens, none of them blank.
- Information page read, and the size checked against the fabric you own.
- DMC list compared with your threads, with missing numbers written down separately.
- Printed at 100% scale, with "fit to page" switched off.
- Page format checked against your paper size.
- Sheets labelled against the page map, if the chart runs to several pages.
- Printout protected with a sleeve or film against wear.
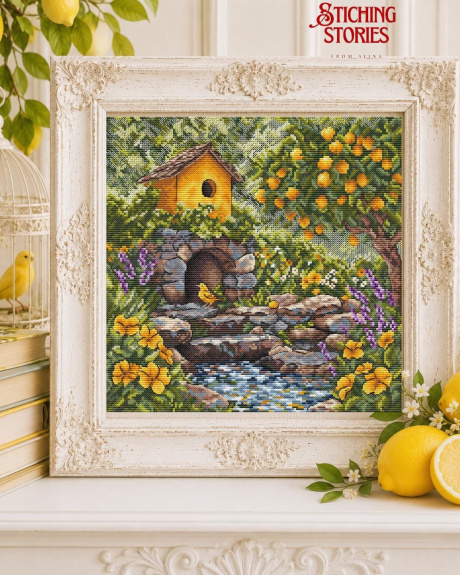
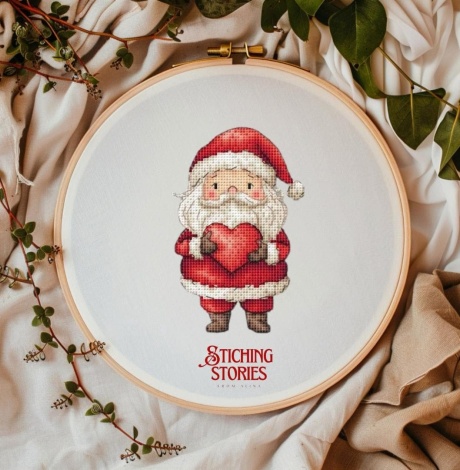
With the contents clear, the remaining step is choosing a subject. Open a pattern page and look at its information block: it shows the size in stitches, the colour count and the recommended fabric. This design, for instance, uses a compact palette, while this one shows how a large piece looks with a page map.