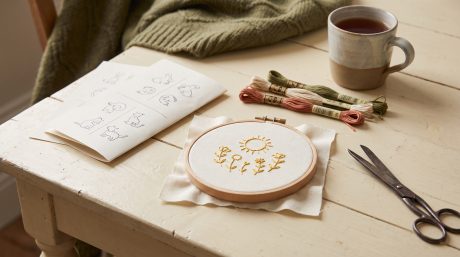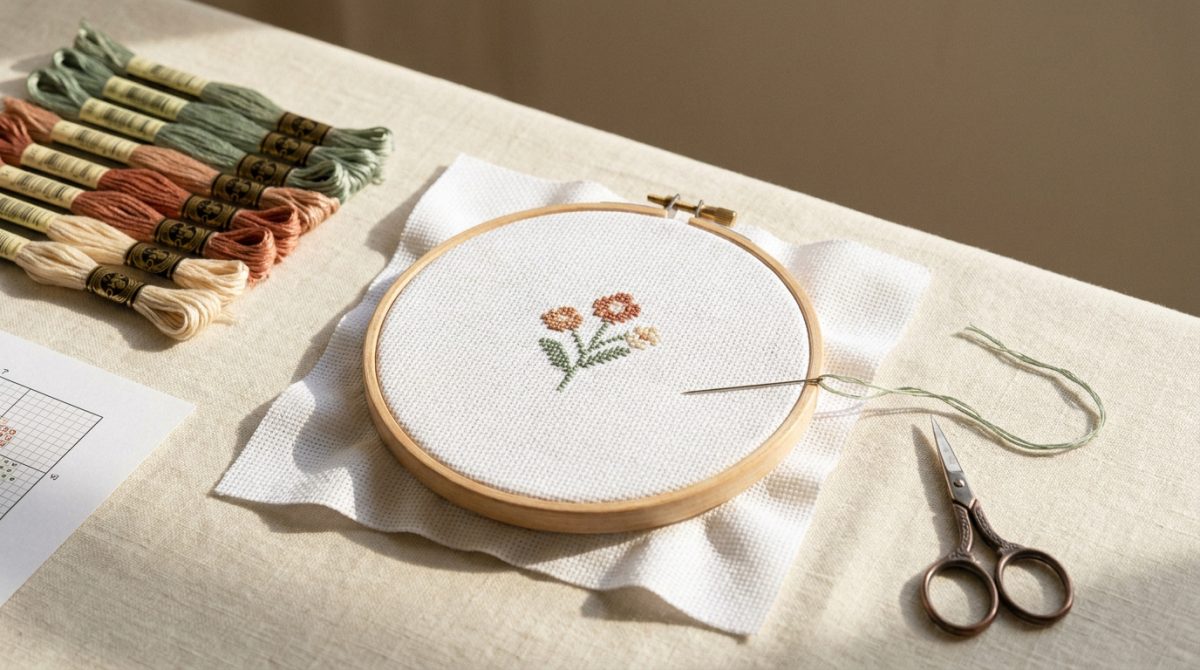
Wondering how to start cross stitch? The short answer: get 14-count Aida fabric, DMC floss, a size 24 tapestry needle, small scissors and a compact chart. Find the center of the fabric, secure the thread without a knot, then make your first stitch as two diagonals — bottom left to top right, then bottom right to top left. Pick a small design in 5–12 colors: finishing one over a few evenings does more for motivation than any amount of theory.
Below is the shopping list in plain language, an explanation of every term, and a sequence you can repeat with any chart you buy later.
What you need to start: cross stitch supplies
A starter kit is inexpensive and available in almost any craft shop. The one rule worth following is to buy nothing extra before your first project — half the items that look essential only become useful around your third or fourth piece.
Aida fabric for beginners and what "count" means
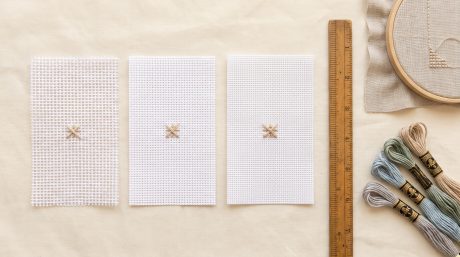
Aida is a cotton fabric woven so that it forms clearly visible squares with ready-made holes at each corner. The needle goes straight into those holes, so you never have to count individual fabric threads. That is exactly why Aida is the usual starting point for counted embroidery.
Count is the number of squares per inch. On 14-count Aida there are 14 squares to the inch: large enough to see without a magnifier, small enough that the finished piece doesn't look coarse. 11-count has bigger squares and helps if your eyes tire quickly. 16- and 18-count are finer, and worth moving to once your hands know the rhythm.
DMC thread and how many strands to use
DMC floss is cotton thread with a fixed color numbering system. One skein is made of six thin strands that separate easily. On 14-count Aida most stitchers use two strands, on 11-count three, on 18-count one or two.
The numbering matters because it makes colors repeatable. A chart doesn't say "blue" or "green" — it says 310, 3799, blanc. A year from now you can buy the same number and it will match what is already in your basket.
Needle, hoop and small extras
Counted work uses a tapestry needle with a blunt tip — size 24 for 14-count Aida. The blunt tip finds the hole instead of splitting the fabric threads. A hoop or small frame keeps the tension even; without one the fabric pulls in and stitches end up different sizes. Add small sharp-tipped scissors and the simplest organizer you can manage: a strip of cardboard with punched holes and the DMC numbers written beside them does the job.
| Supply | What to get for a first project | Why it matters |
|---|---|---|
| Aida fabric | 14-count, white or cream, roughly 8×10 in (20×25 cm) | Clear squares with ready-made holes — no counting fabric threads |
| DMC floss | Only the colors listed in the chart key, usually 5–12 skeins | Fixed numbering: the same shade can be bought again any time |
| Needle | Tapestry needle, size 24, blunt tip | Slides into the hole without splitting fabric or thread |
| Hoop | Plastic or wooden, 4–6 in (10–15 cm) | Even tension keeps every stitch the same size |
| Scissors | Small, with sharp points | A clean cut close to the work, with no stubs left behind |
| Organizer | A cardboard strip with punched holes and labels | Colors stay identified between stitching sessions |
| Chart | A PDF in 5–12 colors, up to roughly 100×100 stitches | A small piece gets finished instead of abandoned halfway |
How to start cross stitch: your first steps
The sequence is the same for every design, from a tiny bee to a full landscape.
- Work out the finished size. Divide the stitch count by the fabric count. A 70×90 design on 14-count Aida measures 5×6.4 in, or about 12.7×16.3 cm.
- Cut the fabric with a margin. Add 2–3 in (5–7 cm) on every side — room for the hoop and for framing later.
- Finish the edges. Overlock, a zigzag on the sewing machine, or plain masking tape around the perimeter. Untreated Aida starts fraying within a week.
- Find the center of the fabric. Fold it in half twice and mark the crossing point with a contrasting thread. On the chart, arrows along the edges show the same center.
- Secure the thread without a knot. Knots create bumps under the fabric. The simplest method for an even number of strands is the loop start: fold one long strand in half, put both cut ends through the needle, and on the first stitch bring the needle through its own loop from the back.
- Begin at the center. A miscount there stays fixable, while a miscount at the edge usually means the design runs off the fabric.
Mistakes that are easy to avoid
- Thread longer than 18 in (45 cm) — it twists and frays before the row is done.
- Starting at the edge instead of the center, the most common reason a design doesn't fit.
- Top stitches running in different directions, which makes the surface look patchy under light.
- Pulling too tight, which warps the fabric and distorts the squares.
How to make a cross stitch: the basic technique
One cross stitch is two diagonal stitches inside a single square. Bring the needle up at the bottom left and down at the top right — that gives you a "/". Then come up at the bottom right and down at the top left, laying a "\" on top. The one condition is that the top stitch must lean the same way everywhere in the piece.
When several stitches of the same color sit in a row, work in two passes: lay all the "/" halves left to right, then close them with "\" on the way back. This uses less thread and gives a more even row. Single stitches surrounded by other colors are finished one at a time.
Watch the back of the work as you go. Any jump longer than about an inch is better cut and restarted under existing stitches, since long floats show through the fabric, especially pale Aida. Thin outlines and small details are charted separately as backstitch, a line stitch worked in one strand after all the crosses are done. If you want a step-by-step walkthrough of the stitch and thread starts, it lives in its own illustrated section.
How to read a PDF chart
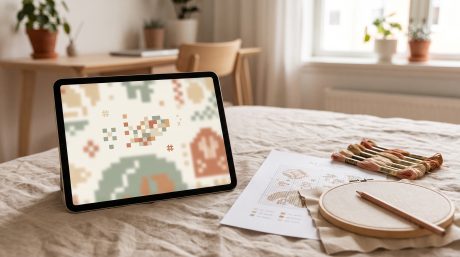
A chart is a grid where every square equals one stitch. Heavier lines divide the field into blocks of 10×10, which is what keeps counting reliable. Arrows on the edges mark the center you started from.
Each color has its own symbol, and the DMC key tells you which floss number belongs to which symbol. Stitching Stories by Alina charts usually come as a PDF containing a color version, a black-and-white symbol version, the DMC key, and fabric recommendations. The black-and-white version earns its place whenever two shades of the same color look nearly identical on screen.
Every design is drawn by hand rather than converted automatically from a photograph, so the color count stays controlled and the stray single pixels typical of machine conversion never make it into the grid. Files are delivered digitally through Etsy — details on formats and downloads are gathered in the answers to common questions.
Checklist before your first stitch
- Chart printed or open on screen, center arrows located.
- Fabric cut with a 2–3 in margin on every side.
- Edges finished with overlock, zigzag or tape.
- Colors checked against the DMC key and labeled on the organizer.
- Size 24 needle and scissors within reach.
- Light coming from the side rather than over your shoulder, so your hands don't shade the squares.
- Top-stitch direction chosen and noted (for example, "\" always on top).
- First stitches placed at the center, not the edge.
- A small chart to work from — one of the compact designs in the Mini category, or anything under roughly 100×100 stitches.
Once the supplies are on the table, all that's left is choosing a subject. Something small and complete suits a debut — a mini chart that takes a few evenings and shows a result straight away.